

Improper charging is the #1 cause of vape battery degradation and safety incidents.
This short, technical guide gives clear steps and safety rules. We validate your intent: you want exact timing and battery safety for modern pens and modular systems like Foger and Digiflavor BRK/Off Stamp.
Compiled by SOKVAPE technicians under 2026 CE/RoHS safety standards, this guide promises a practical solution. We explain why full charge ranges vary with mAh, charger output, and the device’s internal circuit.
Expect direct advice on safe adapter selection (5V/1A), correct cable habits, interpreting LED signals, and when to stop using a device. We also debunk the “charge without battery” myth and preview a troubleshooting table and replacement guidance.
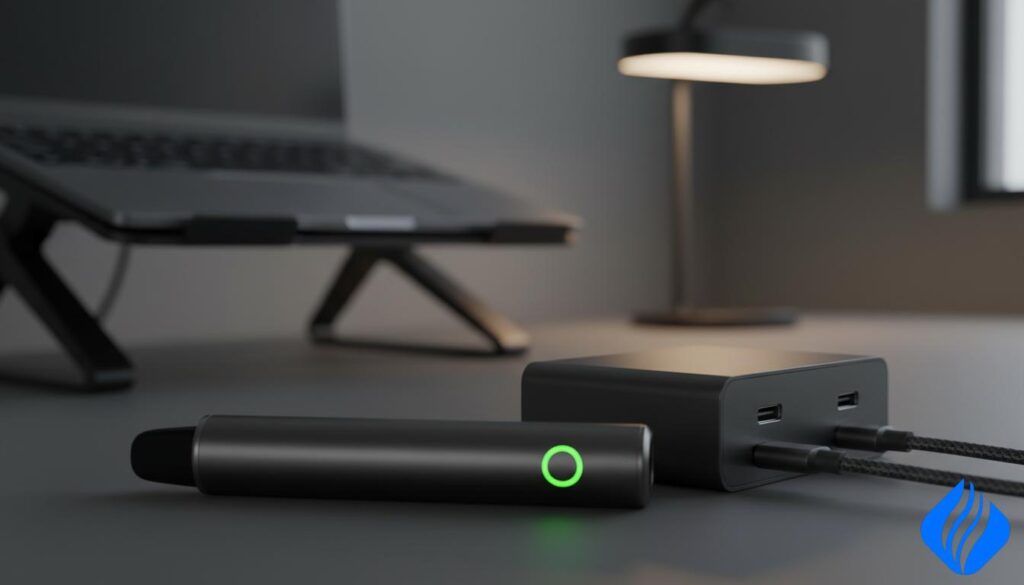
Key Takeaways
- Most modern pens reach full power in about 1–3 hours; the last portion slows by design.
- Battery capacity (mAh), charger output, and the internal circuit dictate exact time.
- Use a 5V/1A adapter and proper Type-C or approved port for safest results.
- LED codes and thermal signs tell you when to pause or stop charging.
- We provide troubleshooting steps and replacement criteria when a battery fails.
Safety Disclaimer Box: Read Before You Charge Any Vape Device
“You are responsible for safe charging decisions. Lithium‑ion battery failures can be dangerous if you use the wrong adapter, damaged cables, or charge in unsafe conditions.”
Make sure you follow strict limits: use manufacturer-approved cables and avoid high-voltage phone wall adapters that may force higher voltage modes.
Wrong adapter or over‑voltage can cause overheating, swelling, leakage, or thermal runaway. Charge on a hard, dry surface away from flammables. Do not leave a device charging unattended or overnight.
- Unplug immediately if the device feels hot, swells, emits a chemical or burnt odor, leaks, or makes hissing sounds. Place it on a nonflammable surface and stop using it.
- Many fast‑charge phone bricks negotiate higher voltage. Most vape devices expect simple 5V input and can be stressed by incompatible charging behavior.
- Recommended defaults for US users: a basic 5V/1A adapter or a computer USB port with a stable 5V supply. Ensure open airflow and monitor temperature while charging.
- Avoid charging on beds, couches, or blankets where heat can build up. Keep the area dry and free of clutter.
- If there is no light or the LED blinks strangely, stop, let the device cool, then follow safe troubleshooting steps.
We provide this guide to reduce risk, not to encourage bypassing missing or damaged parts. You remain responsible for safe use and for replacing failing batteries or chargers.
how long to charge vape pen
Consistent adapter and cable choices make charging times reliable and safer.
Exact answer in 40 words
“Most vape pens take 1-3 hours to fully charge using a 5V/1A USB source. Small 280-500mAh pens may finish in 45-90 minutes; 650-1200mAh devices often need 1.5-3 hours. Unplug when the light indicates full.”
Why the final percent can slow down
The battery charges faster at low levels, then the circuit tapers current near full. This protects the cell and balances voltage.
Expectation: the last ten percent can take as long as the first twenty percent. That is normal behavior, not always a failing battery.
Typical ranges and power-source effect
- Small sticks (280–500 mAh): ~45–90 minutes.
- Mid capacity (500–900 mAh): ~1–2 hours.
- Large cells (900 mAh+): ~3–4 hours.
Safety note: if charging time suddenly doubles with the same adapter and cable, suspect a weak USB port, bad cable, or heat throttling before replacing the battery.
Vape Pen Charging Basics: Batteries, Ports, Cables, and Charging Lights
Understanding ports, cables, and indicator lights prevents common charging mistakes and keeps devices safe.
Ports and connectors. USB-C is typically more durable and supports higher current. Micro‑USB is common but more fragile and often slower. 510‑thread uses a screw‑on USB adapter; plug the adapter into power first, then gently screw the pen battery in—snug, not tight—to protect the center pin.
LED signals. Most devices show a red or orange light while charging and green/blue when fully charged. Rapid blinking, alternating colors, or no light usually indicates poor contact, debris, or a fault. Pause and troubleshoot rather than forcing a connection.
Cables and resistance. Long, thin, or damaged cables add resistance, drop voltage at the usb port, and extend charge time even with a good charger. A short, high‑quality cable keeps the connection stable and reduces thermal stress.
Cleaning tip: power off first. Remove lint with a dry cotton swab. Avoid spraying liquids into ports and let everything dry fully before reconnecting.
Clean ports and solid connections improve performance and help batteries keep steady output over time.
Safe Charging Protocols for US Power Sources
Use a simple 5V/1A adapter or a trusted computer USB port for the safest, most predictable charging behavior.
Recommendation: pick a known-good 5V/1A USB adapter or a stable computer port. These supplies match most devices’ internal circuits and reduce overheating risk.
Why avoid fast-phone wall bricks
Some phone wall adapters negotiate higher voltage and rapid modes. That can force a device into unsafe voltage or current and cause failure. Use a basic wall adapter rated at 5V/1A instead.
Placement and temperature rules
Charge on a hard, nonflammable surface with airflow. Keep the device out of direct sun, hot cars, and heaters.
If the unit is warm from use, let it cool before plugging in. If it is cold, allow it to reach room temperature first.
When to unplug
Do not leave devices charging overnight. Unplug soon after the indicator shows full. This reduces prolonged heat and power stress and extends cell life.
Practical routine: charge during the day so you can check the light and feel for unusual heat. Make sure any cable is short and in good condition.
How to Charge Foger Vapes Safely (Including Switch Pro Modular Battery)
Foger devices often use a removable battery module. You must seat that module correctly so the connection is solid and the device charges reliably.
Understanding the modular setup and seating
Inspect the module for dirt, lint, or residue. Align it fully with the body and press until there is no wobble.
If contacts look bent or corroded, do not force the part. Replace the module instead of improvising a fix.
Foger charging light meanings
Red or blinking indicates active charging. Green or off indicates the battery is fully charged.
Quick checklist to charge and confirm a full battery
- Stop use and let the device cool.
- Seat the module; confirm clean contacts and a solid connection.
- Use a 5V/1A adapter or a computer USB port and connect gently.
- Verify the red/blinking light while it charges; wait for green/off.
- When the light shows full, wait 60 seconds, unplug, and test device power.
Normal: slight warmth during charging. Not normal: hot-to-touch — unplug and move to a hard, cool surface.
How to Charge Digiflavor BRK/Off Stamp Devices (Pod + Battery Base System)
A compact 200mAh pod docks into a 1000mAh magnetic base so the base can replenish the pod multiple times before it needs USB power.
System overview and charging flow
The system separates the small pod from the larger base. The base holds roughly 1000mAh while the pod is about 200mAh. You charge the base via a stable 5V USB port. When docked, the base transfers energy through magnetic contacts to the pod.
Best practices for magnetic contacts and alignment
Bring the pod to the base gently. Let the magnets seat it and confirm the pod sits flat with no visible gap. Misalignment breaks the electrical path and prevents the connection.
Cleaning: power off the device. Wipe both magnetic faces with a dry cotton swab to remove lint and tiny metal debris that cling to magnets.
| Component | Capacity | Role |
|---|---|---|
| Pod | ~200mAh | Delivers draw; receives top-ups from base |
| Magnetic base | ~1000mAh | Charges via USB and replenishes pod |
| USB port | — | Use stable 5V source; avoid low‑quality car adapters |
Safety check: if the base or pod becomes unusually warm during transfer, separate them and let both cool before trying again.
Travel tip: avoid bargain car adapters that sag voltage. Poor adapters cause slow top-ups or repeated reconnect cycles. If the pod still fails to top up, dirty contacts, misalignment, or a weakened base are the most likely causes.
The “Charge Without Battery” Hack: What to Avoid and What to Do Instead
Attempting to energize a device without its intended battery or dock removes essential safeguards. DIY wiring or bypass methods can defeat built‑in charge controllers and protective circuits. That can allow uncontrolled current or voltage and raise the risk of overheating, fire, or thermal runaway.
If you are searching for a safe way, the clear answer is: do not jury‑rig power paths. Instead use the original magnetic charging dock or buy an exact replacement base/module from the manufacturer or a reputable seller.
Decision steps if a base is lost, damaged, or won’t hold a charge:
- Replace: order a genuine base or a certified compatible module.
- Test first: use a known‑good 5V USB source and cable to confirm fault before replacing.
- Stop using damaged parts: cracked housing, bent contacts, swelling, or leaks mean retire the component.
If you suspect battery damage: stop charging, move the device to a nonflammable surface, isolate it, and follow local battery disposal rules. Making it work with improvised wiring is not worth the risk.
Practical note: consult the troubleshooting table next for simple fixes before buying parts. If symptoms persist, replace the base or module.
Vape Charging Troubleshooting Table
Begin troubleshooting by isolating power, cable, port, and heat — in that order. Test the lowest-risk items first: swap power source, then try a short cable, inspect ports and contacts, and finally check device temperature.
Fast fixes: swap to a known‑good short cable, clean the port with a dry cotton swab, and try a different usb port (rear computer ports are more stable than front or hub ports).
| Symptom | Likely Cause | Safe Fix | When to Stop Using the Device |
|---|---|---|---|
| No light | Dead battery, poor usb connection, or faulty port | Try a short cable, different usb port, clean port with dry cotton swab | If still dead after tests or battery is swollen |
| Red light stays on for hours | Weak power, poor connection, or heat throttling | Use a stronger 5V source, swap cable, let device cool on hard surface | If heat persists or odor/hissing appears |
| Blinking error | Contact fault, dirty connections, or internal protection trip | Clean contacts, reseat magnetic or 510 connections, try another port | If blinking returns after clean and reset |
| Charges only when cable is held at an angle | Loose port or damaged cable | Replace cable, avoid bending, inspect port for debris | If port is loose or shows physical damage |
| Charges in one outlet but not another | Underpowered adapter or bad usb port | Swap to a known 5V/1A adapter or rear usb port on desktop | If ports still inconsistent after testing |
| Base won’t charge pod | Magnetic debris, misalignment, or weak base battery | Clean magnetic faces with dry cotton swab, realign, charge base fully | If base is hot, swollen, or fails to hold charge |
| Device gets hot while charging | Thermal throttling, heavy load, or cell fault | Unplug, let cool on hard surface, charge in cooler room | If repeated overheating, swelling, or chemical odor occurs |
Stop rule: swelling, chemical smell, hissing, or repeated overheating means retire the battery and replace it or the device.
- Follow steps in order: power → cable → port/contacts → temperature.
- Use a short, high‑quality cable and clean ports with a dry cotton swab only.
- Avoid cheap car adapters that sag voltage and cause slow or erratic charging.
Battery Life Expectations and How to Make Your Vape Battery Last Longer
Battery aging follows predictable patterns; understanding them helps you protect runtime and flavor.
Baseline: most lithium‑ion batteries for small devices last about 300–500 full charge cycles. That usually equals roughly 6–12 months of regular use, depending on daily habits and capacity.
What a cycle means and healthier habits
A cycle is one full equivalent discharge and recharge. Multiple small top‑ups can together equal a cycle.
- Partial top‑ups: brief fills are fine and slow wear.
- Avoid deep discharges: don’t regularly run a cell to zero.
- Unplug when full: don’t leave a device sitting at 100% on a warm charger.
Storage and temperature: store devices cool and dry. For long rests, leave the battery near half capacity. Avoid hot cars and direct sun; heat shortens cell life.
Signs it’s time to replace the battery
| Symptom | What it means | Action |
|---|---|---|
| Swelling | Cell failure | Stop use immediately; dispose per local rules |
| Greatly reduced runtime | Capacity loss (age) | Replace battery or device |
| Slow or erratic charging | Internal resistance rising | Test cable/port; if persists, replace |
| Persistent overheating or odor | Safety risk | Retire battery same day |
Decision rule: if you see heat, smell chemicals, or notice swelling, stop using the device immediately and replace the battery. Safety is not optional.
Conclusion
Your safety and battery life depend on simple charging habits and routine checks.
Follow a stable 5V/1A USB source or a trusted computer port, use a short good cable, and unplug when the indicator shows the device is fully charged.
Key safety rules: avoid fast-phone bricks, never charge unattended overnight, and stop if you detect heat, swelling, chemical odor, or hissing.
For Foger units, seat modular batteries fully and watch the red/blink → green/off LED pattern. For Digiflavor BRK/Off Stamp, keep magnetic faces clean and aligned and ensure the base holds a healthy charge.
Do not jury‑rig a “without battery” workaround. Replace the dock or module instead of bypassing built-in protection circuits.
Maintain ports, retire weak cables, and monitor charging time changes. If anything seems abnormal, treat the unit as a failing lithium‑ion battery and stop use immediately.
 English
  German
  Dutch
Dutch  Danish
  Czech
Czech  Italian
  Slovenian
  French
  Hungarian
  Spanish
  Polish