

Direct answer: We explain how to refill a vape safely: find the fill port, add bottled e-liquid without overfilling, seal the opening, and wait for the coil to soak before use. As the experts at SokVape who have tested hundreds of devices, we keep instructions clear and practical.
Common frustration: Many beginners spill liquid into the center air channel or overfill and then see leaks, flooding, or burnt hits. We offer quick, professional relief with simple safety steps that cut those problems down.
This short guide covers device types, safety checks, step-by-step fills for pods and tanks, coil priming, and basic troubleshooting. We focus on clear outcomes: fewer leaks, better flavor, longer coil life.
Different vapes refill in their own ways, so we show how to identify your device first and avoid needless disassembly. Our tone is safety-first and adult-friendly for readers in the United States.
Key Takeaways
- Locate the fill port and add e-liquid slowly.
- Avoid overfilling and keep liquid out of the central air channel.
- Always wait for the coil to saturate before use.
- Identify your device type before opening any seals.
- Follow safety steps to reduce leaks and burnt hits.
Getting Started: What Refilling a Vape Actually Means
Refilling is simply adding bottled e-liquid into a refillable pod or tank so the device can produce vapor again without replacing the whole unit.
Featured Snippet: The quickest way
- Open the fill port.
- Fill slowly and don’t overfill.
- Seal the opening and wipe any spills.
- Wait a few minutes for the coil to soak.
- Vape—avoid the center air channel when filling.
Refillable, disposable, and pre-filled options
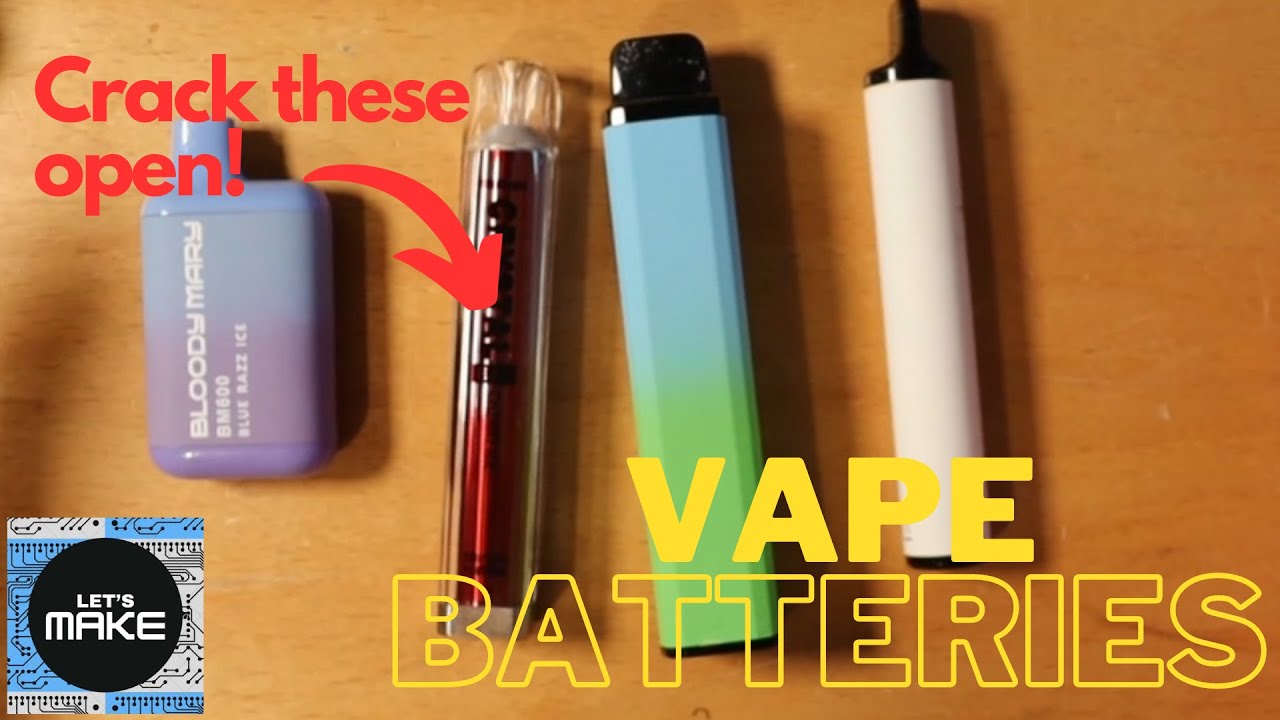
There are three common categories. A refillable vape uses pods or tanks you top up. Pre-filled cartridges or pods are rechargeable but usually not user-refillable. Disposable vapes and sealed disposable vapes are meant to be discarded when empty.
Spot refillable units by looking for a fill port, a silicone plug, or a removable mouthpiece. If you try filling sealed disposables, expect more leaks, poor performance, and possible device damage.
Safety First: Battery, Charging, and E-Liquid Handling
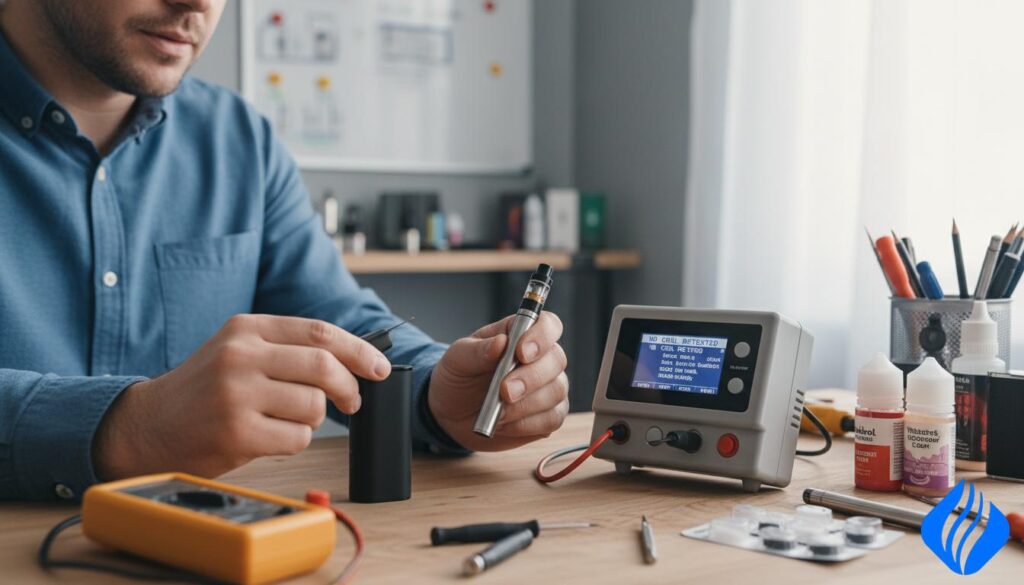
Safety checks protect both the device and the user before any fill or charge. We recommend quick inspections and safe charging habits as part of regular care and maintenance.
Safety First
Do: Inspect pods and tanks for cracks, torn seals, or loose glass. Wipe condensation and keep caps closed.
Don’t: Fill with warm liquid, leave bottles in direct sunlight, or use damaged components.
Battery basics
Keep battery temperatures moderate. High heat degrades lithium cells and can cause long-term damage.
Avoid leaving devices in hot cars or direct sun. Stop using any unit with swollen or dented batteries.
Charging the right way
Use only the original USB-C cable or a manufacturer-approved replacement. Cheap adapters may deliver unstable power and increase risk.
Plug into a quality wall adapter or a trusted computer USB port. Many devices signal full charge by changing or turning off their light.
Adult-use disclaimer
For adult (21+) use only. Keep liquids out of reach of children and pets. Store bottles upright and away from heat.
| Risk | Quick prevention | Why it matters |
|---|---|---|
| Spills | Wipe fills, keep caps closed | Prevents sticky residue and damaged electronics |
| Battery overheat/overcharge | Use original cable; avoid heat sources | Extends battery life and reduces fire risk |
| Damaged pods/tanks | Inspect before use; replace cracked parts | Stops leaks and liquid contact with hot parts |
| Warm liquid fills | Cool to room temperature first | Warm liquid raises leak risk and poor seals |
Know Your Device Before You Refill
Start by checking what kind of unit you hold; each design hides its fill port in a different place. We walk through the common types so you can spot the correct opening and avoid spills.
Finding the fill port
Look for a silicone bung on the side (side-fill). Some pod designs hide a top-fill valve under the removable mouthpiece.
Tanks usually open by unscrewing or sliding a top cap. Vape pens may use threaded caps that twist off.
Parts you may handle
- Pod: remove the pod, lift the mouthpiece, or open the side plug.
- Tank: remove top cap or slide the fill plate; coils sit inside the base.
- Pen: unscrew the top; avoid touching coil threads.
Damage check checklist
Inspect for cracks, loose seals, and torn O-rings. A missing or cut O-ring often causes leaks.
“Inspect seals and seating before any fill.”
Quick tip: Hold the unit upright with the fill opening up. That small move keeps mess down and protects the coil.
How to refill a vape
We walk through juice choices and practical steps that protect coil life and cut leaks.
Before you start: pick the right juice
1. Match nicotine strength: nicotine salt feels smoother at higher strengths; freebase suits lower strengths and open airflow.
2. Match VG/PG to pod and coil. High-VG may clog small pods; thin juice can flood loose tanks.
Refillable pod (step-by-step)
- Remove the pod.
- Open the silicone plug or lift the mouthpiece.
- Insert bottle tip into the side port; fill slowly and avoid the center air channel.
- Seal and wipe; wait at least 5 minutes for a new coil.
Top-fill tanks and pen (step-by-step)
- Open the top cap (twist/slide/unscrew).
- Aim into the side fill channel, not the chimney.
- Fill to just under the top; close firmly.
Bottom-fill tanks (step-by-step)
- Unscrew the base.
- Keep liquid away from airflow; fill carefully.
- Reassemble with seals aligned.
Prime the coil (step-by-step)
- Drop 1 drop per visible cotton hole on the coil.
- Install coil, fill tank, then wait.
- Wait about 5 minutes for full saturation.
Powering on and use
Common sequences: press 5 times to power on/off for many button devices like Raz, Off Stamp, and Foger. Check the manual if lights behave differently.
| Device | Fill type | Prime wait |
|---|---|---|
| Refillable pod | Side or top port | 5 minutes |
| Top-fill tank/pen | Top cap | 3–5 minutes |
| Bottom-fill tank | Base access | 3–5 minutes |
Inhaling Styles and Settings That Change Your Experience
How you draw air defines the warmth, density, and throat feel of each puff.
MTL (Mouth-to-Lung) gives a tighter draw and stronger throat hit. It pairs well with higher nicotine and higher coil resistance. Many ex-smokers find MTL closer to cigarette sensation.
DTL (Direct-to-Lung) uses open airflow for bigger clouds and smoother hits. It favors lower nicotine, lower-resistance coil builds, and richer vapor density.
Quick comparison
| Style | Airflow | Nicotine | Coil | Experience |
|---|---|---|---|---|
| MTL | Tight | Higher | Higher Ω | Warmer, focused flavor |
| DTL | Open | Lower | Lower Ω | Larger clouds, smoother draw |
Airflow control tips
Close airflow slightly if coughing. Open it more for larger vapor density. Small changes shift warmth and coil performance across the sensible range of beginner settings.
“Adjust airflow and nicotine in small steps; tiny changes change the whole experience.”
Why Is This Happening? Troubleshooting Refilling Problems
If your device acts up after a fill, follow a short diagnostic path. We list common symptoms, likely causes, and what we do next for safe recovery.
Coughing on first use
Likely cause: high nicotine or open airflow. What we do next: try a lower nicotine strength, use gentle MTL inhales, and close airflow slightly. Small adjustments ease throat hit fast.
Burnt taste after filling
Likely cause: dry wick or insufficient coil priming. What we do next: confirm you waited five minutes, drop extra e-liquid onto visible cotton holes, lower power if your device allows, and replace the coil if the taste persists.
Device not firing
Likely cause: low battery, poor pod seating, or activation sequence. What we do next: charge the battery, reseat and clean contacts, and verify button clicks (many models use five clicks).
| Symptom | Likely cause | Quick check | Action |
|---|---|---|---|
| Leaks | Overfill, worn O-rings, cracks | Inspect seals for damage | Wipe, replace O-rings, set fill port highest |
| Gurgling/flooding | Liquid in air channel | Remove pod/tank and look | Clear chimney, wipe, refill slower |
| Unusual heat or battery wet | Liquid reached battery area | Stop use immediately | Dry, service, replace damaged parts |
Safety note: If leaks reach the battery or the device runs hot, stop using it. Address the issue before continuing.
Tip: Small, regular checks of pod seals and coil wetting prevent most problems. We keep these steps simple so your next session runs smoothly and safe.
Conclusion
We close with a concise checklist that makes daily care straightforward and safe.
Quick recap: identify your device, find the fill port, add the right e-liquid slowly, seal the opening, and wait before use.
Prime the coil when it is new and respect saturation time. This protects flavor and cuts burnt hits.
For long-term maintenance and care, use original charging cables, avoid heat, and stop overcharging. These simple steps extend battery life and device health.
Most refilling problems are fixable. Leaks usually mean overfilling or worn seals. Harsh hits often signal nicotine or airflow mismatch. Stay calm and troubleshoot step by step.
Final note: this guide supports adult users. Follow manufacturer instructions when they differ and keep routines consistent for reliable vaping.
 English
  German
  Dutch
Dutch  Danish
  Czech
Czech  Italian
  Slovenian
  French
  Hungarian
  Spanish
  Polish