

Direct answer: Most button-activated models power up with a quick sequence of clicks — commonly press 5 times — while draw-activated units start when you inhale to activate. As the experts at SokVape who have tested hundreds of devices, we give a clear, safety-first reply so you can begin safely.
For adult (21+) use only. Many users find confusing buttons or harsh first hits frustrating. We remove that pain with simple, proven steps and safety tips that reduce battery issues and rough draws.
“Turning on” means unlocking the device, waking its battery, and enabling vapor production. Expect indicator lights or brief flashes when the unit is live. Some models include preheat or heat settings that shape your first puffs.
Not every pen uses the same sequence. Later in this guide we cover common patterns and brand-specific steps, quick charging checks, parts ID, first-time setup, inhale styles, and basic troubleshooting.
Key Takeaways
- Most button-activated units use five rapid clicks to power up.
- Draw-activated models start when you inhale to activate.
- Powering up wakes the battery and may flash indicator lights.
- We prioritize safety and clear steps for adult (21+) users.
- This guide previews charging checks, setup, and quick fixes.
How to Turn On Vape Pen in Seconds
A quick power sequence wakes the battery and readies the atomizer for use.
Button-activated models: classic five-click routine
Decide first: does your vape pen have a button or is it auto-draw?
- Ensure the battery is charged.
- Press button five times rapidly (steady rhythm in ~2 seconds) to power on.
- Look for an indicator light flash or vibration. That confirms the device is live.
- Press and hold while inhaling for a button-fired model.
- Press button five times again to switch the device off.
Draw-activated units: auto-draw explained
- Charge if needed.
- Place lips on the mouthpiece and take a gentle 2–4 second draw; the sensor triggers auto-draw.
- Pause between hits to avoid overheating and sensor misreads.
Brand-specific sequences: Raz, Off Stamp, Foger
- Raz: 5 clicks on / 5 clicks off; some models add 2-click preheat.
- Off Stamp: 5 clicks standard; 3 clicks may change modes—check the manual.
- Foger: 5 clicks on/off; lights indicate mode and battery level.
If it won’t power, confirm charging, clean contacts, and check the power-lock status before further troubleshooting.
Before You Power On: Battery, Charging, and Indicator Lights
A quick pre-flight check of the battery and cable prevents weak hits and unexpected shutdowns.
We recommend a short inspection before use. Verify charge level, cable condition, port cleanliness, and that the device is not locked. This simple routine keeps the unit reliable and safe.
How to charge safely with USB or USB-C
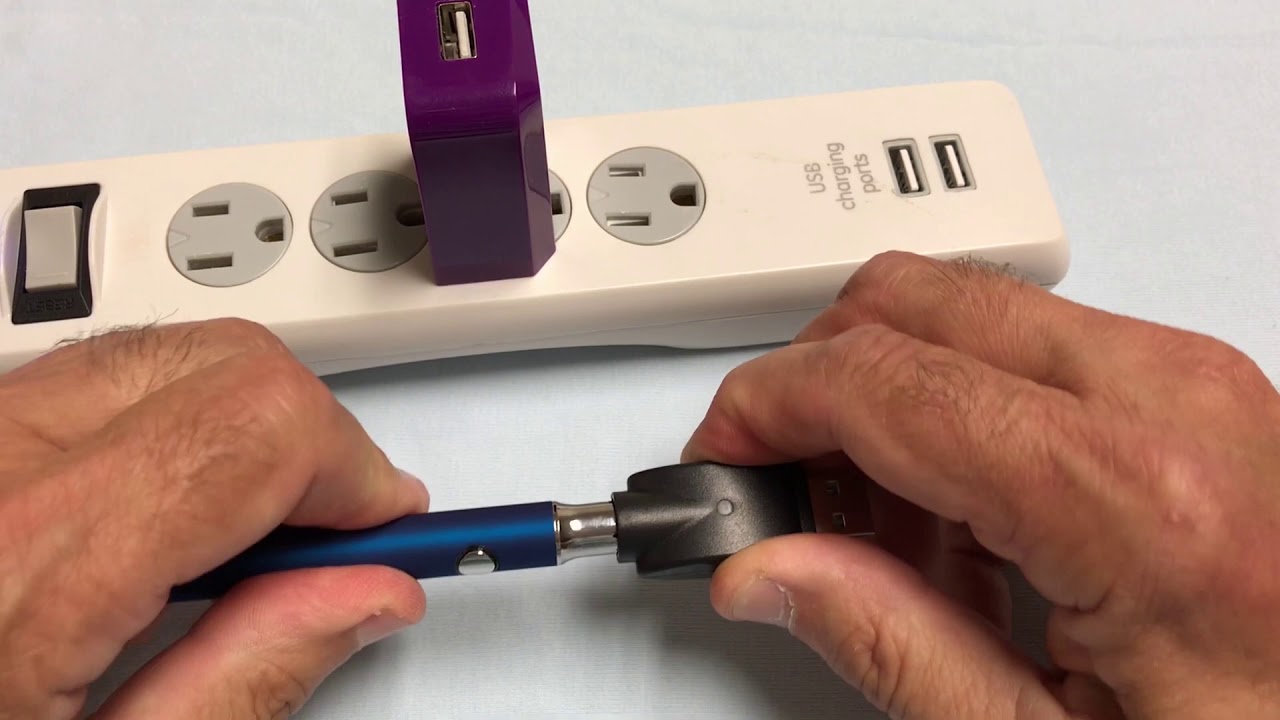
- Use a reputable power source. Avoid cheap wall adapters and charge from a reliable outlet.
- Connect USB/USB-C securely using the supplied cable or an approved replacement such as original usb-c cables.
- Place the device on a non-flammable surface while charging. Do not leave it unattended for long periods to reduce overcharging wear.
- Watch the indicator light. Blinking usually means active charging; a solid light commonly signals full charge.
- Unplug when full to save battery life and limit heat exposure.
Reading lights and avoiding weak hits
The meaning of an indicator varies by brand. Red or amber often signals low battery. Green or white usually means full. Rapid flashing can mean an error or locked state; check the manual for your model.
Quick weak-hits checklist: low battery, cold oil, clogged airflow, or too-high voltage settings. If a unit was just charged or filled, wait a few minutes for liquid to wick and the device to stabilize.
Stop charging and seek help if the unit gets unusually hot. We prioritize safe charging and clear indicator cues so your vape pen performs when you need it.
Safety First: What to Do Before Your First Puff
Before your first draw, run a quick safety check focused on battery condition and charging gear.
Safety First — Non-negotiables
- Don’t overcharge. Unplug when full.
- Do not charge on soft surfaces like beds or couches.
- Stop use if the battery is hot, swollen, or damaged.
Battery safety essentials
Check the battery for dents, swelling, or corrosion. If you see any damage, do not use the product.
Overcharging and extreme heat shorten battery life. Store products in a cool, dry place. Leaving a vape in direct sun or a hot car stresses the battery and can ruin oil quality.
Use only original USB-C cables and reputable chargers
Always use original USB-C cables or manufacturer-provided replacements. Cheap adapters can cause faulty charging and device faults.
Prefer reliable wall chargers and avoid loose power banks with unknown specs. Monitor charging until you know how your product behaves.
Responsible use notes
For adult (21+) use only.
Keep all products away from children and pets. Start low, pace puffs, and never carry loose batteries with keys or coins.
| Risk | What to do | Why it matters |
|---|---|---|
| Overcharging | Unplug at full charge | Extends battery lifespan and reduces heat |
| Heat exposure | Store in cool, dry places | Prevents oil degradation and clogging |
| Poor cables | Use original USB-C cables | Reduces charging faults and device damage |
Quick safety tips:
- Turn the device off before pocketing.
- Don’t carry loose batteries with keys or coins.
“Safety routines protect the user and the product. Small checks prevent common accidents.”
Know Your Device: Pen, Tank, Cartridge, and Coil Basics
Understanding the core parts makes activation and troubleshooting much simpler.
Core parts every user should know
We define the main components so activation steps make sense. The battery supplies power. The coil/atomizer heats. The tank/cartridge holds the oil or e-liquid. You inhale through the mouthpiece.
Simple checks of these parts often reveal why a device won’t fire or why hits feel weak.
Disposable vs. rechargeable
Many disposable vape pens are draw-activated and feel ready at all times. Rechargeable devices commonly use a multi-click lock for safety and may include preheat or variable voltage features.
510-thread, pods, and all-in-ones
510-thread cartridges screw onto compatible pen batteries. Pod systems use magnetic or click-in connections and may have different activation logic. All-in-one units combine parts in one integrated design.
Before first use: check connection points, airflow path, and whether the coil needs priming. That simple routine prevents common “no vapor” faults and speeds safe setup.
How to Set Up a Vape Pen for the First Time
Start with a calm, step-by-step routine and you’ll protect coils and preserve flavor.
- Fully charge the battery before first use. A full charge prevents weak hits and saves time during setup.
- Assemble the unit. Attach the cartridge or tank until it is snug, not overtight. Excess force can strip threads and block airflow.
- Fill refillable tanks: tilt the tank slightly and add e-liquid along the glass edge. Avoid pouring into the center tube; that causes gurgling, leaks, and poor draws.
- Prime the coil two ways: fill the tank and let it sit for about 5 minutes, or add a single drop of e-liquid to the exposed cotton before assembly if accessible. Never dry-burn a fresh coil.
- Power up and take short primer puffs: 2–3 second draws without holding the button long. These initial pulls help the wick absorb oil and protect the coil from burning.
- Pace your first session. Wait a few minutes between early hits and avoid chain use. Start at lower heat or voltage and increase only if needed for a better flavor experience.
- Adjust gradually. If airflow feels tight, loosen the cartridge slightly. Replace coils at the first sign of burnt taste to preserve flavor and device life.
Quick setup tips: attach cartridges snugly (Fernway guidance), let filled tanks sit for saturation (RELX-like), and prime coils with short draws (Myster-like). These small steps protect coils and improve every use.
“Proper priming and gentle first draws prevent dry hits and extend coil life.”
How to Inhale and Dial In Performance: MTL vs. DTL Explained
Choosing the right inhale style shapes throat hit, cloud size, and overall performance. We outline clear differences and safe steps for dialing in settings on common devices.
MTL vs DTL — what each feels like
MTL (mouth-to-lung) mimics a cigarette pull: tighter airflow, less vapor, and stronger throat hit. It suits low-power pods and higher nicotine salts for a smoother feel.
DTL (direct-to-lung) uses open airflow, producing denser clouds and more vapor production. It pairs with lower nicotine freebase juices and higher heat or voltage settings.
Quick comparison
| Style | Airflow | Vapor density | Nicotine | Best devices |
|---|---|---|---|---|
| MTL | Tight | Low | High (salts) | Pods, low-watt pens |
| DTL | Open | High | Low (freebase) | Sub-ohm kits, modular pens |
Airflow, draw technique, and heat control
More airflow cools the coil and can increase cloud size while softening throat hit. Less airflow concentrates warmth and sharpens sensation.
Take slow, steady draws. Avoid hard inhales that flood coils or spit liquid. Start with low voltage and low heat. Raise settings in small steps until flavor and production match your preference.
Nicotine salts work well at higher strengths in low-power MTL devices. Freebase juices fit lower strength and open-air DTL setups.
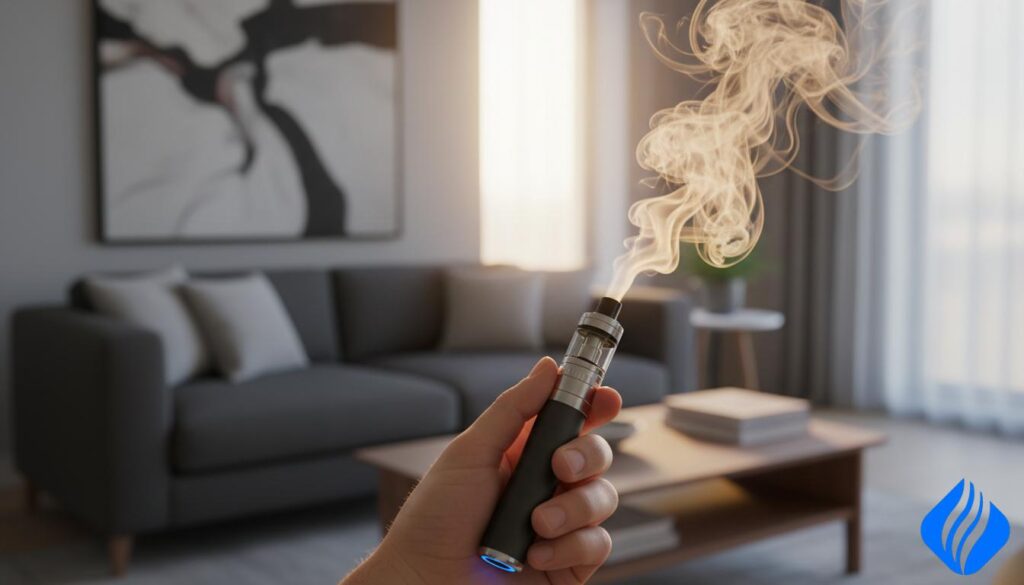
We advise pacing intake and making gradual setting changes so the device, coil, and the user remain safe.
Why Is This Happening? Common Vape Pen Problems and Fixes
Troubleshooting smartly means checking power, connections, and the coil in that order. We walk through common faults and clear, safe fixes you can try in minutes.
Coughing on first use
If first pulls make you cough, try these steps.
- Lower nicotine strength or switch to a milder formula.
- Use a mouth-to-lung draw rather than a direct inhale.
- Shorten puff length and wait between hits to reduce vapor density.
Burnt taste
A burnt flavor usually means a dry wick or high heat.
- Stop vaping immediately.
- Check liquid level; don’t run the tank dry.
- Re-prime or replace the coil and lower the voltage or heat setting.
Device not firing
Work through this checklist in order for fastest repair.
- Press five times to unlock if your model uses a click lock.
- Verify the charger works and the unit is charged.
- Clean contacts and reseat the cartridge snugly.
- Watch for error flashes; they often indicate lock or short protection.
Weak or no vapor
Blocked airflow or low charge are common causes.
- Check mouthpiece and airflow holes for clogs.
- Keep the device upright and warm the cartridge gently in your hand.
- Try short pulls to clear minor blockage and confirm battery charge.
Safety note: If the device gets hot, smells odd, or shows physical damage, stop use and replace the unit rather than forcing a fix.
Conclusion
A calm, stepwise routine prevents most faults and keeps performance steady.
Most button models wake with five quick clicks. Draw-activated units fire when you inhale. Check indicator lights for confirmation and errors.
Safe start: charge fully, assemble snug, prime if needed, begin at low settings, and take short puffs with breaks over time. These small moves protect coils and improve flavor.
Key battery care tips: avoid overcharging, use reputable chargers and original cables, and keep devices out of heat. Monitor lights and follow your manual for model-specific details.
Use this guide as a quick reference. For adult (21+) use only. Practice paced, responsible use and consult the troubleshooting checklist when a unit feels harsh or won’t fire.
 English
  German
  Dutch
Dutch  Danish
  Czech
Czech  Italian
  Slovenian
  French
  Hungarian
  Spanish
  Polish