

Improper charging is the #1 cause of vape battery degradation and safety incidents.
You searched for battery safety and a practical fix. We validate that intent and offer a technical solution you can trust.
This short guide is compiled by SOKVAPE technicians using 2026 industry safety standards (CE/RoHS). We focus on rechargeable single-use models only and do not support unsafe DIY hacks.
First, confirm whether your disposable vape is designed for recharging. Many single-use units lack overcharge protection and can overheat, short, or fail violently if recharged.
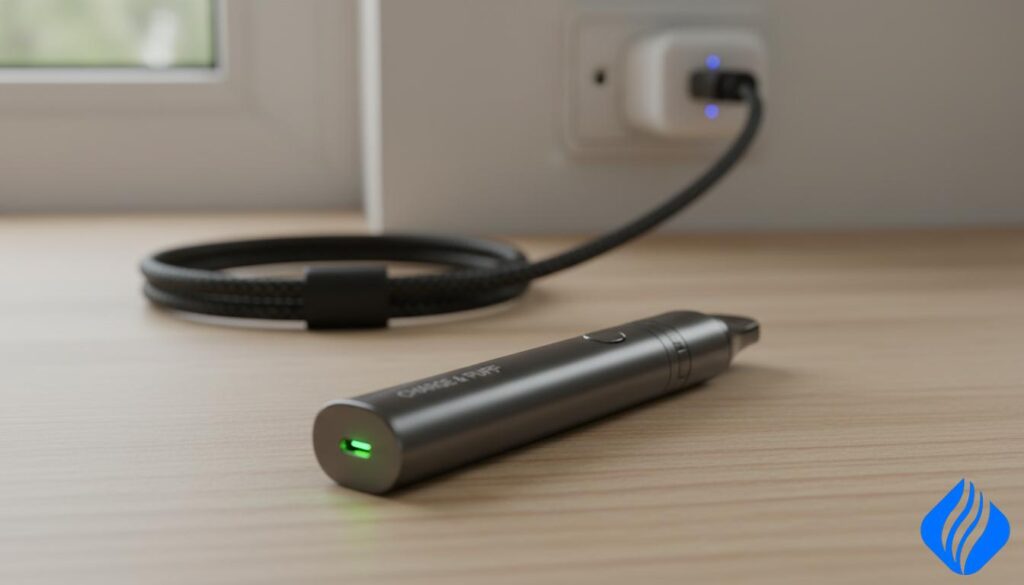
We will explain what “rechargeable disposable” means and give a clear roadmap: identify the port (micro-USB or USB-C), choose the correct power source, watch LED indicators, and unplug on time. We also cover Foger modular-battery systems and Digiflavor BRK/Off Stamp pod+base designs so you avoid mismatched chargers.
Key Takeaways
- Confirm the unit is rechargeable before connecting power.
- Use the correct cable and a low-amp, certified USB source.
- Watch LED behavior and stop if the device heats or smells odd.
- Foger modular and Digiflavor BRK/Off Stamp need matched chargers.
- Charging helps finish remaining e-liquid; it won’t revive a non-rechargeable cell.
Safety Disclaimer
Never assume a small device is low risk — lithium batteries demand respect and proper care.
“Lithium-ion cells can fail violently if charged without proper protection.”
Safety Disclaimer (Box): You should only charge a disposable vape if the manufacturer designed it to be rechargeable and provided a dedicated charging port.
Lithium-ion battery risks and why non-rechargeable units shouldn’t be powered
Recharging a non-rechargeable unit is not recommended. These cells often lack overcharge protection. That raises risks: overheating, electric shock, burning, and explosions.
Use low-voltage power only and never leave devices unattended
We recommend low-voltage USB power and a matched charger. Never leave a unit charging unattended or overnight.
- If you see heat, swelling, smoke, crackling, or a burning smell: unplug immediately and move the device away from flammables.
- Avoid DIY reworks. Opening the case or wiring to USB can cause shorts and battery venting.
- If the device is damaged, leaking, or deformed, stop use and dispose through proper battery recycling channels.
How to Know If Your Disposable Vape Is Rechargeable
Begin with a visual check: find any USB port on the unit’s base or side.
Inspect the bottom and edges for a USB-C or micro-USB charging port. This is the fastest physical sign that a unit is a rechargeable disposable.
Check packaging, the user insert, or the online listing for words like “rechargeable disposable” or “USB rechargeable”. Manufacturer wording matters more than guesses.
- If the unit has no visible usb port, treat the device as non-rechargeable.
- Some models light when you puff; that is not the same as a charging indicator.
- Rechargeable disposable vapes are made for a few top-up cycles only, not endless reuse.
LED guide for common signals
| Indicator | Typical meaning | Action |
|---|---|---|
| Red or blinking | Charging in progress | Leave connected; monitor temperature |
| Green or solid | Full or nearly full | Unplug and store safely |
| No light | Either full, dead, or fault | Try another cable or stop and inspect |
“Confirm rechargeability before connecting power. If in doubt, do not attempt a refill or connection.”
Charging Safety Protocols for Disposable Vapes
Prioritizing simple, low-power setups reduces the risk of heat and battery faults.
Avoid high-voltage phone wall adapters and fast chargers. Many single-use circuits lack advanced regulation and run hotter with aggressive power delivery. Use a low-current approach for best safety.
Recommended power sources
We recommend a 5V/1A wall block or a computer USB port as your default. These supply gentle power and limit stress on the cell.
Safe charging setup
Place the device on a cool, dry, flat surface away from sunlight, heaters, and fabrics. Never charge on cushions, dashboards, or inside bags.
Overheating signs and immediate actions
Watch for unusual warmth near the battery, a hot USB plug, plastic or chemical smells, crackling sounds, or swelling. If any appear, unplug at once and move the device to a non-flammable area.
Vape Charging Troubleshooting Table
| Problem | Likely cause | Safe fix |
|---|---|---|
| Not charging | Faulty cable or dirty port | Swap cable, try a 5V/1A wall block or computer USB port, clean port with compressed air |
| LED not turning on | Bad connection or dead cell | Try another usb cable, check port alignment, stop if device is damaged |
| Overheating | High-voltage adapter or overcharge | Unplug immediately, let cool, do not reuse if swollen or smoking |
| Loose port | Worn connector or debris | Clean port gently with alcohol-damp cotton swab, let dry; replace charger if loose |
“Troubleshooting never includes opening the case or bypassing the battery base; that defeats built-in safety designs.”
How to Charge Disposable Vape Step-by-Step
Follow a clear, safety-first routine for disposable vape charging. Begin by visually confirming the unit’s casing and port are intact before you touch any power source.

- Locate and inspect the charging port. Look at the base or side for a USB-C or micro-USB port. Check for cracks, bulges, or e-liquid leaks. If anything is wrong, do not proceed.
- Select the correct usb cable. Use the matching USB-C or micro-USB cable and seat it gently. Never force a connector into a worn or loose port.
- Plug into a safe power source. Use a 5V/1A wall block or a computer USB port. Verify the led changes state (red/blinking usually means charging).
- Monitor during the first minutes and periodically. Confirm normal warmth only. If it gets hot, smells chemical, or flickers, unplug and move the unit away from flammables.
- Unplug when full and avoid pass-through vaping. Remove power when the led shows full. Do not puff while plugged in; most units do not support vaping while charging and that raises risk.
- Repeat conservatively. If you recharge disposable vape multiple times to finish e-liquid, use the same low-power approach and avoid higher-current chargers.
“Unplug promptly when the indicator shows full; do not leave the unit charging unattended.”
How Long to Charge a Disposable Vape
Battery size, cable quality, and the chosen USB source determine how long a top-up takes.
Most rechargeable disposable vapes take 30 minutes to 4 hours to fully charge, depending on battery size, cable, and power source. Plug into a 5V/1A adapter or computer USB port, watch the LED indicator, and unplug once it shows full.
Practical context: Typical full charge ranges from short sessions for small cells to multiple hours for larger capacity units. Use low-voltage 5V supply and avoid fast chargers that stress the cell.
| Capacity (mAh) | Typical minutes | Notes |
|---|---|---|
| 150–250 | 30–90 minutes | Small cells finish fast; monitor initial warming |
| 300–500 | 90–180 minutes | Common mid-range capacity; use a 5V/1A adapter |
| 500+ | 180–240+ minutes | Less common in single-use units; larger capacity takes longer |
Safety note: Longer charging once full is not better. If you detect heat, swelling, or smell, unplug immediately and place the device away from flammables.
“Unplug when the indicator shows full; do not leave the unit charging unattended.”
Charging Foger Vapes Safely
Foger’s Switch Pro–style kits pair a removable battery component with a snap-in pod section.
Modular battery basics: Many Foger units use a separate battery module that supplies power for the pod. The USB port and LED live on the module, not the pod itself. That changes how you inspect and troubleshoot the unit.
LED meanings and port checks
Foger LED behavior is exact: Red or blinking = Charging; Green or off = Full. Unplug when the LED indicates full rather than leaving the module connected.
Best practices for battery life and overheating prevention
Use a 5V/1A wall block or a computer USB port. Avoid fast chargers and high-current adapters. Do not vape while the module is connected; pass-through use raises overheating risk.
Most lithium cells in these units last 300–500 charge cycles, roughly 6–12 months of typical use. Preserve life by avoiding deep discharges, unplugging at full, and storing modules at moderate temperatures.
| Item | Recommended action | Warning sign |
|---|---|---|
| USB port on module | Use correct cable; seat gently | Loose connector or sparks |
| LED pattern | Follow Red/Green guide and unplug at full | Erratic blinking or no light |
| Charging source | 5V/1A wall block or computer USB | High-current fast charger |
| Storage | Keep cool, avoid hot cars and soft surfaces | Persistent warmth or swelling |
“Replace the battery module if it runs hot, shows swelling, or the LED behaves erratically.”
Charging Digiflavor BRK and Off Stamp Devices
Digiflavor BRK and Off Stamp use a pod + battery base architecture that differs from single‑piece units.
Understanding the pod + battery base system
The system pairs a small 200mAh pod with a separate 1000mAh magnetic base. The pod draws power through contact pins and magnets. The base houses the main battery and the usb input.
Alignment, lights, and normal behavior
Seat the pod firmly on the base. Clean contacts and ensure full magnetic engagement. A steady red or blinking LED usually means charging. Green or solid light means full.
Why the “without battery” hack is dangerous
DIY wiring or stripped‑wire work bypasses built‑in protection. That can short cells, cause overheating, or start fires. Never jury‑rig a pod with external power.
Recommended fix and safety steps
- Use the original magnetic dock or a model‑matched replacement base.
- Apply low‑voltage usb power and the supplied cable only.
- Unplug when the indicator shows full and do not leave units unattended.
“Use manufacturer‑intended interfaces. Bypassing the base risks batteries, flavor, and personal safety.”
Conclusion
Keep safety first: only use power interfaces the manufacturer built into the unit.
Only recharge a unit that clearly shows a USB port or uses an approved base. Use a 5V/1A wall block or a computer USB port and a matching cable. Avoid fast chargers and high-voltage adapters.
Watch the LED and unplug when it shows full. Typical top-ups run 30 minutes to 4 hours. If the device runs hot, swells, or refuses to take power after basic checks, replace it rather than attempt DIY fixes.
Practical note: modular bases and rechargeable disposable vapes last about 300–500 cycles (roughly 6–12 months). Follow these limits to reduce overheating risk and protect your vape juice and e-liquid.
 English
  German
  Dutch
Dutch  Danish
  Czech
Czech  Italian
  Slovenian
  French
  Hungarian
  Spanish
  Polish