

Improper charging is the #1 cause of vape battery degradation and safety incidents.
This safety-first guide gives clear, technical solutions written by SOKVAPE technicians and aligned with 2026 industry standards (CE/RoHS).
We set expectations up front. This overview applies to common rechargeable devices and previews later coverage of Foger modular batteries and the Digiflavor BRK/Off Stamp pod + base system.
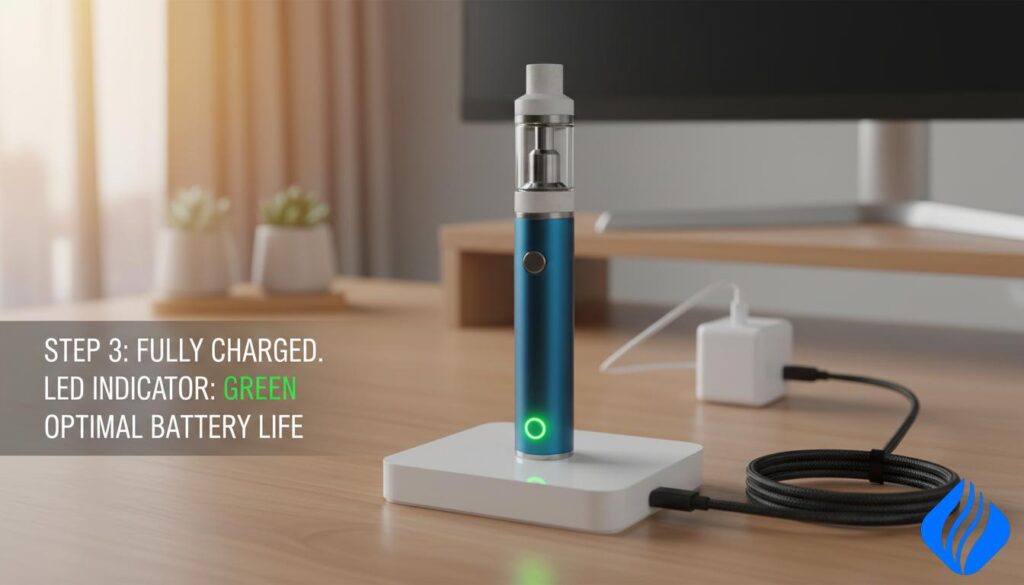
In the U.S., correct voltage matters: use a 5V/1A power source for most small batteries. Avoid DIY “charge without battery” wiring — it creates shorts and heat risks.
Typical steps you will find in this guide: confirm the battery is rechargeable, pick a safe USB power source, connect properly, watch the indicator light, and unplug when full. Charge times range from about one to four hours depending on mAh, cable condition, and built-in current limiting.
Key Takeaways
- Always treat lithium-ion cells with caution; heat and voltage control are critical.
- Use a proper 5V/1A USB source in the U.S. for small device batteries.
- Indicator lights vary; most show red while charging and green or off when full.
- Do not attempt “charge without battery” hacks; we offer safe alternatives later.
- Charge time depends on battery capacity, cable health, and port cleanliness.
Safety Disclaimer Box: Read Before You Charge Any Vape Device
Before you plug anything in, read this safety alert carefully.
Charging lithium-ion cells carries real risks. Follow the manufacturer’s manual when it differs from this general guidance.
- Default safe source: In the U.S., use a 5V/1A USB adapter or a computer USB port for most small devices. A dedicated charger with proper specs is best.
- Avoid high-voltage wall adapters and fast-charging bricks or unknown “quick charge” ports; extra voltage increases stress and can cause heat or fire.
- Stop charging immediately if the device becomes very hot, shows swelling, emits a burning smell or hissing, or if the cable or port is damaged. Place the device on a nonflammable surface.
- Do not attempt to power or recharge a device that lacks a confirmed rechargeable design. Tampering, DIY wiring, and “wire-to-contacts” methods are unsafe and can cause shorts or thermal runaway.
- Charge on a hard, dry surface away from flammable items, direct sun, and where pets or children can reach the cord.
We recommend you treat all batteries with caution. When in doubt, contact the manufacturer or dispose of the unit through approved battery recycling channels.
How to Charge Vape Pen Safely: The Universal Charging Setup
Before plugging anything in, verify the device is meant to be recharged. This simple check prevents unsafe attempts to power single-use models and avoids battery damage.
Confirm rechargeability
Look for a visible port (USB-C or micro-USB) or clear labeling on the box or manual. If the packaging or instructions do not state “rechargeable,” do not attempt to connect a charger.
Pick the right power source
Default (U.S.): use a reputable 5V/1A adapter or a computer USB port. These provide stable 5V that limits unnecessary heat and stress on cells.
Avoid fast-charge bricks
High-voltage phone adapters and quick-charge chargers often deliver elevated profiles. Even if a device limits current, extra available voltage can increase temperature and long-term wear.
Safe charging area and connection order
- Place the unit on a hard, nonflammable surface with airflow.
- Keep it away from blankets, paper, and direct sunlight.
- Plug the USB cable into the adapter or computer first, then seat the port fully on the device to avoid wobble and intermittent contact.
Recognize a full battery
Most units show a red or blinking light while charging and switch to green or turn off when fully charged. Feel for unusual heat; if the temperature is high, unplug and inspect the cable and port.
How Long to Charge a Vape Pen (Timing, Minutes to Hours)
Estimate run times and top-up intervals by starting with battery specs. That gives a realistic expectation in minutes or hours and helps you spot abnormal behavior.
Exactly 40-word answer: how long to charge
Exactly 40 words: Small stick cells often finish in under an hour. Mid-size 500–900 mAh batteries usually take about one to two hours. Larger mods with higher capacity often need three to four hours on a standard 5V/1A USB source; conditions and cables affect actual time.
mAh, capacity and daily runtime
mAh measures stored charge. Higher mAh means longer runtime and longer fill time at the same input current.
Example ranges:
- Under 300 mAh — minutes to under an hour.
- 500–900 mAh — ~1–2 hours.
- 1000+ mAh — 3–4 hours or more.
Why charging slows near full
Most devices taper current in the last ~10% to limit heat and protect the cell. This is normal protective behavior.
Top timing disruptors: weak power source, damaged cable, lint in the port, and thermal throttling if the device warms up.
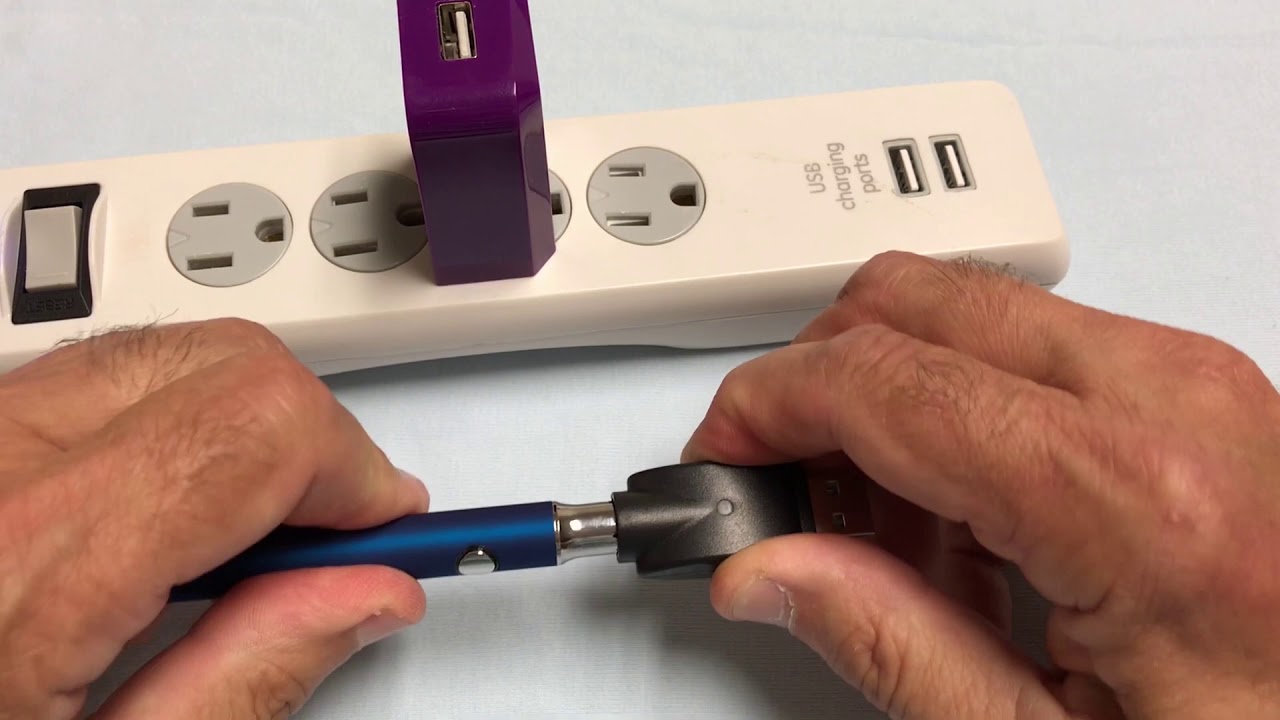
Charging Foger Vapes: Switch Pro and Modular Battery Basics
A Switch Pro battery module requires precise alignment and clean contacts for safe, reliable operation.
Modular design vs single-piece cells: With a modular battery you remove and replace a sealed pack rather than opening the device. That lowers repair risk but raises the need for correct seating and contact cleanliness.
Understanding fit and contact checks
Seat the module flush with the device body. There should be no wobble. A loose fit causes intermittent power and extra heat.
Inspect contact pins for e-liquid, lint, or corrosion. Clean with a dry cotton swab if needed.
Foger charging light meanings
Red or blinking = charging in progress. Green or off = fully charged; unplug to reduce heat soak.
If the light stays red for hours, blinks oddly, or the device becomes hot, stop and follow the troubleshooting path.
Best practices for swapping, topping off, and preventing overheating
- Let the module cool after heavy use before swapping. Hot swaps can trap heat and cause damage.
- Top off at partial discharge; shallow cycles are kinder to lithium batteries than deep drains.
- Use a 5V/1A USB source, keep airflow around the device, and charge on a hard nonflammable surface.
- Avoid charging on fabric and do not leave the device connected overnight.
| Indicator | Meaning | Immediate Action | Safety Tip |
|---|---|---|---|
| Red / Blinking | Charging in progress | Leave connected; monitor temperature | Use recommended 5V/1A source |
| Green / Off | Fully charged | Unplug and stow | Prevent heat soak by removing promptly |
| Red long / Irregular blink | Possible fault or poor contact | Stop charging and inspect contacts | Do not reuse until issue cleared |
Charging Digiflavor BRK/Off Stamp: Pod + Battery Base System
The BRK/Off Stamp uses a small 200mAh pod that draws energy from a 1000mAh magnetic base. The pod itself does not have a direct cable port; it tops up when seated on the base. This design places most stored energy in the base and simplifies quick swaps in the field.
Seating, USB connection, and monitoring
Bring the pod near the base and let the magnets align the contacts. Confirm it sits flat with no rocking. Do not force the pieces together; gentle magnetic guidance prevents bent pins.
Connect the base using a stable 5V/1A USB source or a computer USB port. The base manages the charging behavior and shows status via an LED indicator or light. Watch the indicator and monitor device temperature during the session.
Magnetic contact care and residue risks
Debris, e-liquid, or oil can block magnetic pins and raise resistance. Wipe contacts with a dry cotton swab. Keep pads dry and clear of lint and metal specks.
Tip: Never scrape pins with metal tools. If seating or charging is inconsistent, clean the contacts first, then test cable and power source.
| Indicator | Meaning | Action |
|---|---|---|
| Stable red light | Base is charging pod or storing energy | Leave connected; monitor temperature |
| Green / light off | Pod and base at full level | Unplug and stow on a hard surface |
| Irregular blink or warm base | Possible poor contact or residue | Stop, clean contacts, check cable and USB port |
The “Charge Without Battery” Hack: What Not to Do and Safe Alternatives
Bypassing the designed dock removes essential protections and invites serious hazards.
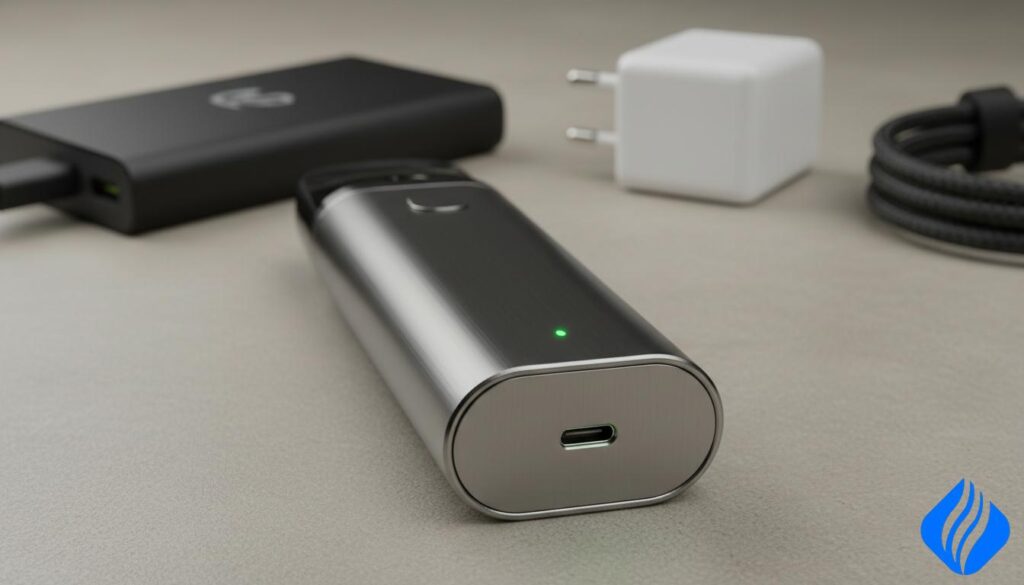
DIY wiring and makeshift adapters may look like a quick way around a failed base, but they remove vital regulation. Lithium cells need controlled voltage, current limiting, and protection circuitry. A direct wire can cause shorts, melted insulation, or thermal runaway.
Why jury‑rigging fails
Unregulated power can overheat and deform the charge board. Internal cell damage and fire are real outcomes.
Safe alternatives
- Use the original magnetic charging dock or an OEM replacement base.
- Confirm model compatibility and connector type in the manual before buying.
- Choose reputable chargers that match listed voltage and output specs.
Stop trying when…
Immediate replacement is required if you notice:
- Repeated overheating or persistent warm spots.
- Swelling, burning smell, or an indicator that never changes.
- Physical damage to contacts or a base that won’t seat securely.
| Problem | Risk | Safe Replacement |
|---|---|---|
| DIY wiring | Shorts, fire | OEM magnetic dock |
| Unregulated adapter | Over-voltage, heat | Verified charger with correct voltage |
| Damaged contacts | Poor connection, heating | Replace base or device as manual recommends |
No online hack is worth removing charge protections. We recommend using designed parts and following the manual for safe, reliable power management.
Vape Charging Troubleshooting Table
Use this chart as the fastest diagnostic tool when your device won’t charge, charges slowly, or shows confusing lights. Unplug immediately if you detect unusual heat or a burning smell.
Below is symptom-focused guidance with safe fixes and clear stop actions. Verify indicator behavior per model before repeating attempts.
| Symptom | Likely Cause | Fix | Stop / Safety |
|---|---|---|---|
| No light when plugged in | Bad cable, failed adapter, or dirty port | Swap to a known-good short cable and a 5V/1A adapter; try a different USB port | If still dead, battery may be end-of-life; replace device or battery |
| Light stays red for hours | Weak power source, damaged adapter, or failing cell | Use a stable power source (5V/1A), test another adapter, monitor temperature | Persistent heat — stop and retire unit |
| Light flickers | Intermittent contact, lint in USB port, or loose cable | Clean port with a dry swab, use a short quality cable, reseat connector firmly | Do not force connectors; if pins bend, replace base or device |
| Device gets hot | Incorrect adapter, overvoltage, or internal fault | Unplug, allow cooling, then retry with 5V/1A adapter and known-good cable | Swelling, hissing, or melting connectors — stop and dispose safely |
| Charges only at certain angles | Damaged port or bent contacts | Clean magnetic pads; if problem persists, replace connector or dock | Avoid DIY repairs that bypass protections |
| Charges but battery drains fast | Battery aging (reduced cycles) or poor cell health | Check runtime vs mAh; plan replacement after 300–500 cycles | If capacity collapses quickly, replace battery or device |
Battery Life, Charge Cycles, and Long-Term Care for Vape Batteries
Expect meaningful wear after several hundred full-equivalent cycles and plan accordingly.
Most lithium-ion batteries deliver about 300–500 charge cycles. For many users this equals roughly six to twelve months of regular use. A “charge cycle” is cumulative: several partial top-ups that add up to one full cycle.
Good habits extend usable life. Charge on a cool, hard surface. Avoid heat and direct sun. Unplug when the indicator shows full and do not leave a device powered on the charger for extra hours.
For storage, keep cells near mid-charge (about 40–60%). Store in a cool, dry place away from cars and windows. Deep discharge and extreme temperatures speed capacity loss.
Replace the battery or device if you notice:
- Significantly shorter runtime or sudden shutoffs.
- Inability to reach full indicator state after normal sessions.
- Repeated overheating, swelling, or unusual odor — retire immediately.
We recommend treating replacement as a safety decision. A degraded battery is more likely to fail under stress.
| Topic | Guideline | Action |
|---|---|---|
| Expected life | 300–500 cycles (6–12 months) | Monitor runtime and cycle count |
| Storage level | 40–60% state of charge | Store cool, dry, away from sun |
| End‑of‑life signs | Short runtime, swelling, heat | Replace immediately for safety |
Conclusion
Close every session with a simple safety checklist that prevents most battery incidents.
Make sure your device is listed as rechargeable, use a stable 5V/1A USB source or a computer USB port, and avoid high-voltage phone adapters or fast-charge bricks. Unplug when the light shows full and the unit feels cool.
For model notes: Foger modules usually show red or blinking while charging and green or off when full. The Digiflavor BRK/Off Stamp pod tops up from its 1000mAh magnetic base; keep magnetic contacts clean for consistent power transfer.
Do not attempt any “without battery” wiring or bypasses. Use original docks or verified replacement bases. When troubleshooting, change one variable at a time — cable, adapter, port — and stop immediately if heat or damage appears.
 English
  German
  Dutch
Dutch  Danish
  Czech
Czech  Italian
  Slovenian
  French
  Hungarian
  Spanish
  Polish