

Direct answer: Disassemble the device, empty e-liquid, soak removable reservoir parts in warm water, rinse until clear, and dry completely before reassembly. Never immerse batteries or installed coils; remove them first for Lithium-ion battery safety.
We know a ruined session is frustrating. As Sokvape, we give calm, expert fixes that restore flavor and airflow quickly. Early notes: Coil Priming, PG/VG ratio, and Draw-activation affect taste and wick life.
Start by separating the battery pack from the tank and mouthpiece. Rinsing the reservoir removes sticky sludge that mutes flavor and causes leaks. Full drying lowers short-circuit risk and keeps performance steady.
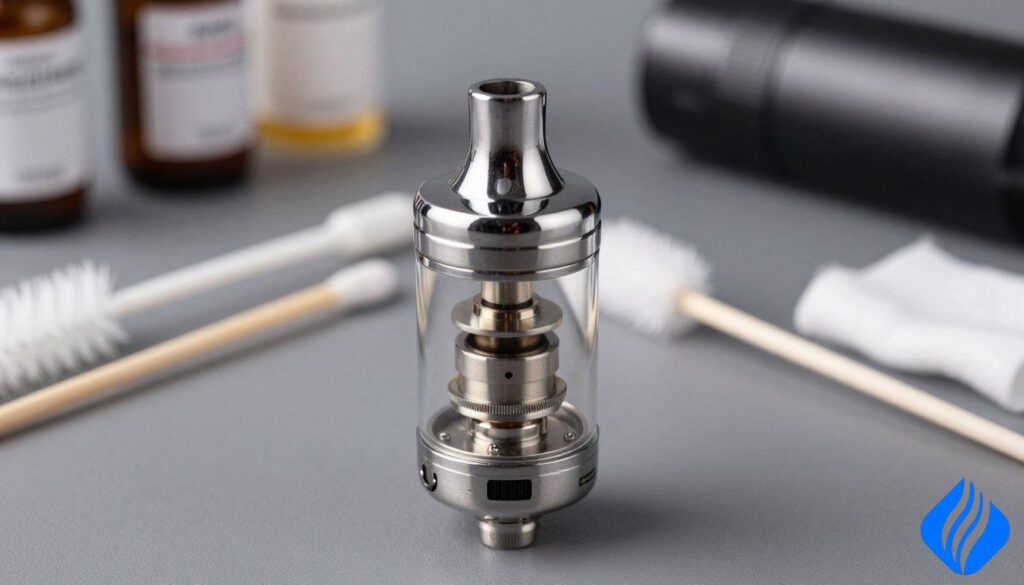
We’ll walk through a warm-water method, battery safety, and maintenance habits like proper priming and choosing a suitable PG/VG ratio. For deeper device maintenance, see our maintenance guide.
Key Takeaways
- Always remove the battery before any rinsing or soaking.
- Soak removable parts in warm water, rinse until clear, and air dry fully.
- Cleaning improves flavor and airflow but often will not revive a burnt coil.
- Know the difference between tank vs. pod and coil vs. wick.
- For full device care, consult our maintenance guide.
Why a clean vape tank matters for flavor, performance, and coil life
Minor gunk can turn a strong flavour into a dull, stale taste in just a few refills. We’ll explain what causes that sticky sludge and when a simple service brings back fresh flavours versus when a coil swap is the right move.
How residue creates muddied flavour and “sticky sludge”
Sweeteners and darker flavourings deposit a thin film on metal and glass. Repeated heating thickens that film into sticky sludge.
It builds around threads, the chimney, and inside the mouthpiece. The result is muted flavour and cross‑taste between juices.
Common performance issues from a dirty tank and mouthpiece clogs
- Restricted airflow and weak vapor — caused by condensed residue in the chimney.
- Popping, spitback, and flooding — often trace back to pooled juice and blocked ports.
- Reduced heating efficiency — residue limits wicking and contact on mesh or wire.
When cleaning helps versus when a coil swap is smarter
Cleaning usually fixes residue, flavour crossover, and clogs in the chassis or mouthpiece. It also supports coil life by removing grime that accelerates gunking.
Replace the coil when cotton tastes burnt, mesh looks permanently darkened, or seals deform. Cleaning cannot revive chemically scorched wicks.
| Symptoms | Likely cause | Right fix |
|---|---|---|
| Muted or mixed flavour | Residue in chambers or mouthpiece | Clean vape tank; rinse and dry parts |
| Spitback, popping | Pooled juice or blocked airflow | Clear ports, check O‑rings, adjust airflow |
| Burnt, dry taste | Worn or charred coil/wick | Swap coils; prime new coil |
Sokvape pro‑tip: If flavour drops after a refill, look for condensation in the mouthpiece or chimney before assuming the device needs a part replacement.
Safety Warning: lithium-ion battery safety, coil handling, and what never to soak
Keep liquids away from power packs; small drops can cause big damage. We prioritize safe maintenance that prevents shorts and device failure. Follow these non-negotiables before any work.

Keep the battery pack dry to prevent shorts and device damage
Never submerge a lithium-ion battery pack. Even a few drops can short contacts and ruin the device. Remove batteries and store them in a dedicated case when you handle parts.
Why you should not wash coils or wicks in water
Do not soak coil heads or cotton wicks. Cotton holds water and metal can trap moisture. Performance rarely resets; replacement is safer and tastes better.
Avoid harsh cleaners and abrasive tools that can weaken seals
Abrasive scrubbing, metal picks, and strong detergents nick O‑rings and weaken seals. That leads to chronic leaking and part failure.
Alcohol use on vape components: when it’s appropriate and when to skip it
Isopropyl alcohol can clean metal and glass in limited cases. Skip alcohol on plastics or rubber. If used, let parts dry fully so vapors evaporate. Small amounts of mild soap with clear rinsing also work.
- Make sure no moisture remains in threads, chimney, or airflow channels before reassembly.
- Inspect O‑rings and seals; replace damaged part.
- For travel, keep batteries in a case for TSA/FAA rules and note PACT Act shipping limits in the U.S.
How to clean vape tank step by step (warm water soak method)
A focused warm-water soak is the most reliable refresh for most tanks. Below is a compact, numbered workflow we follow at Sokvape. Read each step before you start. Take photos during disassembly for an easy reassembly.
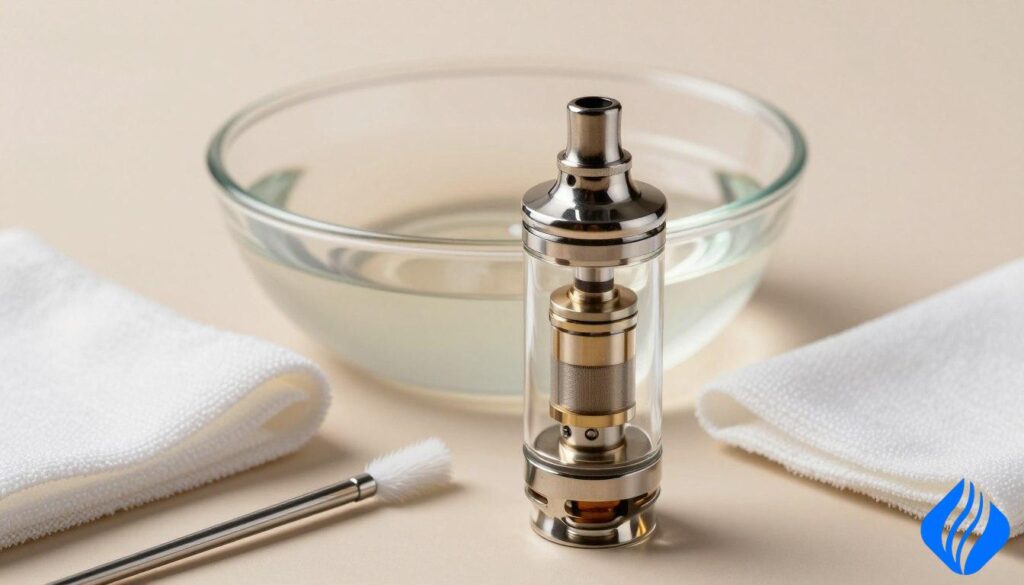
Prep and safety
Gather a basin of warm water, paper towel or microfiber cloth, and cotton swabs. Set the battery aside and keep coils dry.
- Detach the reservoir from the device and remove the coil; store the battery separately.
- Carefully disassemble glass, metal, and O‑rings. Lay parts on a paper towel.
- Remove leftover juice by vaping it down or blotting with paper—avoid fibers in ports.
- Soak non‑electrical parts in warm water for at least 20 minutes. Refresh and repeat if residue remains.
- If needed, add 1–2 drops of mild soap, then rinse until water runs clear.
- Drip‑dry on a paper towel, swab threads and corners, then allow extra air time until fully dry.
- Reassemble, check threads and seals, then perform a quick airflow and leak test before refilling.
| Soak time | Residue level | Expected result |
|---|---|---|
| 20 minutes | Light build‑up | Clears most flavor film |
| 40 minutes | Heavy gunk | Improved clarity; repeat if needed |
| Soap + rinse | Stubborn sticky sludge | Removes detergent traces when rinsed fully |
Coil priming, PG/VG ratio, and maintenance habits that keep tanks cleaner longer
Smart priming and juice choices keep flavour sharp and parts cleaner.
Coil Priming basics
Priming routine that reduces dry hits
Saturate the wick thoroughly after fitting a new coil. Let the saturated coil sit for 5–10 minutes. Start at a low wattage and ramp up in short bursts. This protects flavour and cuts dry hits.
Mesh coils vs. standard coils
| Feature | Mesh coils | Standard coils |
|---|---|---|
| Surface area | High — even heat | Smaller — hot spots |
| Flavour | Strong | Good |
| Gunk rate | Faster with sweet e-liquid | Slower but still affected |
PG/VG ratio and sweeteners
Higher VG is thicker and can leave more residue. Sweeteners and dark flavours speed gunking. Pick e-liquid with lower sweetener levels for longer life and fewer maintenance cycles.
Draw-activation vs. button devices
Draw-style use can increase condensation and flooding after a refill. Aggressive pulls force juice into airflow paths. On button devices, measured puffs lower that risk.
Sokvape pro‑tips: If flooding occurs, remove the device, wrap the base with a paper towel, and gently blow through the mouthpiece to clear excess liquid. If harsh flavour remains after priming and cleaning, the coil needs replacement.
For extra guidance on extending coil life, see our extend coil lifespan resource.
Conclusion
A reliable finish makes future sessions smoother and safer. Disassemble, soak removable parts in warm water for ~20 minutes, rinse until clear, and dry fully. Fit a fresh coil or a verified, working head for best flavour and airflow.
Two mistakes we see often: letting moisture near the battery pack and trying to salvage a burnt coil by washing it. Both risk poor flavour and device damage.
Legal disclaimer: Regulations vary by state and venue. Confirm TSA/FAA rules before flying with lithium‑ion batteries and check PACT Act impacts on orders. This guide is informational and aligns with 2026 compliance norms where applicable.
If you need parts or longer maintenance guidance, explore Sokvape’s essentials and replacement options—t. for trouble‑free sessions.
Q&A
Q: How often should we clean a vape tank? — Weekly at minimum; more with sweet e‑liquids.
Q: Can we clean a vape coil instead of replacing it? — Generally no; replace for safety and flavour.
Q: Why does my vape taste burnt after cleaning the tank? — Likely coil or wick damage, high wattage, or poor priming.
Q: Is it safe to use alcohol on parts? — Use sparingly on metal/glass only; avoid plastics and coils; let all evaporate.
Q: How do we stop flooding and gurgling after maintenance? — Dry parts fully, check O‑rings, use correct fill technique, and gently blow through the mouthpiece to clear excess liquid.
 English
  German
  Dutch
Dutch  Danish
  Czech
Czech  Italian
  Slovenian
  French
  Hungarian
  Spanish
  Polish